从 Gitlab 迁移到 Gitea 小记
前言
在开源的世界中,选择合适的代码托管平台是每个开发者和组织都会面临的选择。近年来,GitLab和Gitea都已经成为开发者社区的热门选择。而对于个人用户来说,是否有必要从GitLab迁移到Gitea呢?这篇博客旨在对比这两者的优劣,并提供一个简单的迁移指南。
GitLab与Gitea的优劣对比
GitLab
优点:
- 功能齐全:GitLab不仅仅是一个代码托管平台,它还提供了CI/CD工具、项目管理、代码审查、安全扫描等全面的开发功能。
- 界面友好:GitLab的用户界面现代且直观,适合新手和经验丰富的开发者。
- 社区活跃:GitLab拥有一个庞大的开发者社区,这意味着经常有新的功能和改进。
缺点:
- 资源消耗:对于个人用户和小团队,GitLab可能会消耗大量的服务器资源。
- 配置复杂:虽然功能丰富,但配置GitLab可能需要一定的技术背景和时间。
Gitea
优点:
- 轻量级:Gitea是为低资源环境设计的,适合个人用户和小团队。
- 简单易用:Gitea提供了一个简单直观的用户界面。
- 自托管:与其他托管服务相比,Gitea很容易在自己的服务器上安装和运行。
缺点:
- 功能限制:相对于GitLab,Gitea可能没有那么多的高级功能。
- 社区规模较小:虽然Gitea的社区在不断增长,但相比GitLab,它仍然相对较小。
实现过程
从GitLab迁移到Gitea并不复杂。以下是一些简单的步骤:
- 安装Gitea:根据你的操作系统和服务器环境,从Gitea官方网站下载并安装。
- 迁移仓库:在Gitea中创建一个新的仓库,并从GitLab中复制你的仓库URL。
- 使用Gitea的迁移工具:Gitea提供了一个内置的迁移工具,只需几步就可以完成迁移。
迁移维护脚本
以下是迁移脚本示例:
全自动迁移 gitlab 仓库到 gitlab
注意:请确保在使用此脚本之前,已经正确配置了GitLab和Gitea的凭证。
#!/bin/bash

# 提示用户进行第一次确认
read -p "此操作会创建一些仓库。请确认是否继续 (输入 YES 继续): " confirm1

if [ "$confirm1" != "YES" ]; then
    echo "操作已取消。"
    exit 1
fi

# GitLab 认证信息
gitlab_name="your_gitlab_name"
gitlab_pwd="your_gitlab_pwd"

# Gitea 认证和相关信息
gitea_name="your_gitea_name"
gitea_pwd="your_gitea_pwd"
gitea_token="your_gitea_token"
gitea_base_url="https://your.gitea.domain/api/v1"

# 列表用于跟踪迁移状态
successful_repos=()
failed_repos=()

# 仓库列表
list=(
    'https://your.gitlab.domain/main/server_config.git,Shell,7'
    'https://your.gitlab.domain/main/WJDemoPlayGround.git,iOS,6'
    'https://your.gitlab.domain/main/blxy.git,iOS,6'
    'https://your.gitlab.domain/android/blxy.git,Android,3'
)

# 迭代仓库列表
for repo_info in "${list[@]}"; do
    gitlab_url=$(echo $repo_info | cut -d, -f1)
    gitea_group=$(echo $repo_info | cut -d, -f2)
    gitea_uid=$(echo $repo_info | cut -d, -f3)
    repo_name=$(basename $gitlab_url .git)

    dir_name="$gitea_group-$repo_name"

    # Clone from GitLab
    if [ ! -d "$dir_name" ]; then
        git clone "$gitlab_url" "$dir_name"
    fi

    if [ "$gitea_group" == "iOS" ] || [ "$gitea_group" == "Android" ]; then
        description="$gitea_group $repo_name project."
    else
        description="$repo_name project."
    fi

    # Create the repo in Gitea
    curl_command="curl \
    -X POST \"$gitea_base_url/repos/migrate\" \
    -H 'accept: application/json' \
    -H 'Content-Type: application/json' \
    -H \"Authorization: token $gitea_token\" \
    -d '{
            \"clone_addr\": \"$gitlab_url\",
            \"uid\": $gitea_uid,
            \"repo_name\": \"$repo_name\",
            \"description\": \"$description\",
            \"mirror\": false,
            \"private\": true,
            \"auth_username\": \"$gitlab_name\",
            \"auth_password\": \"$gitlab_pwd\"
    }'"

    # echo "执行 curl:"
    # echo "$curl_command"

    # 在 Gitea 中创建仓库
    response_with_status=$(curl -s -w "||%{http_code}" \
        -X POST "$gitea_base_url/repos/migrate" \
        -H 'accept: application/json' \
        -H 'Content-Type: application/json' \
        -H "Authorization: token $gitea_token" \
        -d '{
            "clone_addr": "'"$gitlab_url"'",
            "uid": '"$gitea_uid"',
            "repo_name": "'"$repo_name"'",
            "description": "'"$description"'",
            "mirror": false,
            "private": true,
            "auth_username": "'"$gitlab_name"'",
            "auth_password": "'"$gitlab_pwd"'"
    }')

    response_body=$(echo $response_with_status | cut -d"|" -f1)
    http_status=$(echo $response_with_status | cut -d"|" -f3)

    # 如果仓库创建成功,则推送到 Gitea
    if [ "$http_status" = "201" ]; then
        repo_http_url=$(echo $response_body | jq -r '.clone_url')
        echo "Repository created successfully at: $repo_http_url"

        cd "$dir_name"
        # 判断是否存在readme文件
        if [ -f "README.md" ]; then
            # 使用sed命令查找并替换字符串
            # sed -i '' -E "s|(git remote add origin )[^\s]+|\1$repo_http_url|" README.md
            sed -i '' -E "s|(git remote add origin ).+\.git|\1$repo_http_url|" README.md

            # 检查上一条命令是否成功
            if [ $? -eq 0 ]; then
                git add README.md
                git commit -m "Fix readme remote url."
            fi
        fi

        git remote set-url origin $repo_http_url
        git push origin --all
        git push origin --tags
        git push origin HEAD
        cd ..

        # 添加到成功列表
        successful_repos+=("$repo_name")
    else
        echo "Error migrating $repo_name to Gitea. HTTP Response: $response_body"

        # 添加到失败列表
        failed_repos+=("$repo_name")
    fi

    # 可选:删除克隆的仓库以节省空间
    rm -rf "$dir_name"
done

# 打印迁移完成的消息
echo "迁移完成。"
if [ ${#successful_repos[@]} -ne 0 ]; then
    echo "成功迁移的仓库:"
    for repo in "${successful_repos[@]}"; do
        echo "- $repo"
    done
fi

if [ ${#failed_repos[@]} -ne 0 ]; then
    echo "迁移失败的仓库:"
    for repo in "${failed_repos[@]}"; do
        echo "- $repo"
    done
fi
批量删除仓库
#!/bin/bash

# 提示用户进行第一次确认
read -p "此操作会删除一些仓库。请确认是否继续 (输入 YES 继续): " confirm1

if [ "$confirm1" != "YES" ]; then
    echo "操作已取消。"
    exit 1
fi

# 提示用户进行第二次确认
read -p "请再次确认是否继续删除 (输入 YES 继续): " confirm2

if [ "$confirm2" != "YES" ]; then
    echo "操作已取消。"
    exit 1
fi

# Gitea 认证和相关信息
gitea_name="your_gitea_name"
gitea_pwd="your_gitea_pwd"
gitea_token="your_gitea_token"
gitea_base_url="https://your.gitea.domain/api/v1"

# 列表用于跟踪迁移状态
successful_repos=()
failed_repos=()

list=(
    'https://your.gitea.domain/shell/server_config.git,Shell'
    'https://your.gitea.domain/ios/WJDemoPlayGround.git,iOS'
    'https://your.gitea.domain/ios/blxy.git,iOS'
    'https://your.gitea.domain/android/blxy.git,Android'
)

# 删除仓库
for repo_info in "${list[@]}"; do
    gitlab_url=$(echo $repo_info | cut -d, -f1)
    onwer=$(echo $repo_info | cut -d, -f2)
    repo=$(basename $gitlab_url .git)

    curl_command="curl \
    -s -o /dev/null -w \"%{http_code}\" \
    -X DELETE \"$gitea_base_url/repos/$onwer/$repo\" \
    -H 'accept: application/json' \
    -H 'Content-Type: application/json' \
    -H \"Authorization: token $gitea_token\""

    echo "正在删除 $repo ..."
    response_code=$(eval $curl_command)

    # 检查 HTTP 返回状态码。通常,204 表示删除成功,其他状态码可能表示出现错误。
    if [ "$response_code" == "204" ]; then
        successful_repos+=("$repo")
        echo "成功删除 $repo."
    else
        failed_repos+=("$repo")
        echo "删除 $repo 失败,HTTP 状态码: $response_code."
    fi
done

# 打印删除完成的消息
echo "删除完成。"
if [ ${#successful_repos[@]} -ne 0 ]; then
    echo "成功删除的仓库:"
    for repo in "${successful_repos[@]}"; do
        echo "- $repo"
    done
fi

if [ ${#failed_repos[@]} -ne 0 ]; then
    echo "删除失败的仓库:"
    for repo in "${failed_repos[@]}"; do
        echo "- $repo"
    done
fi
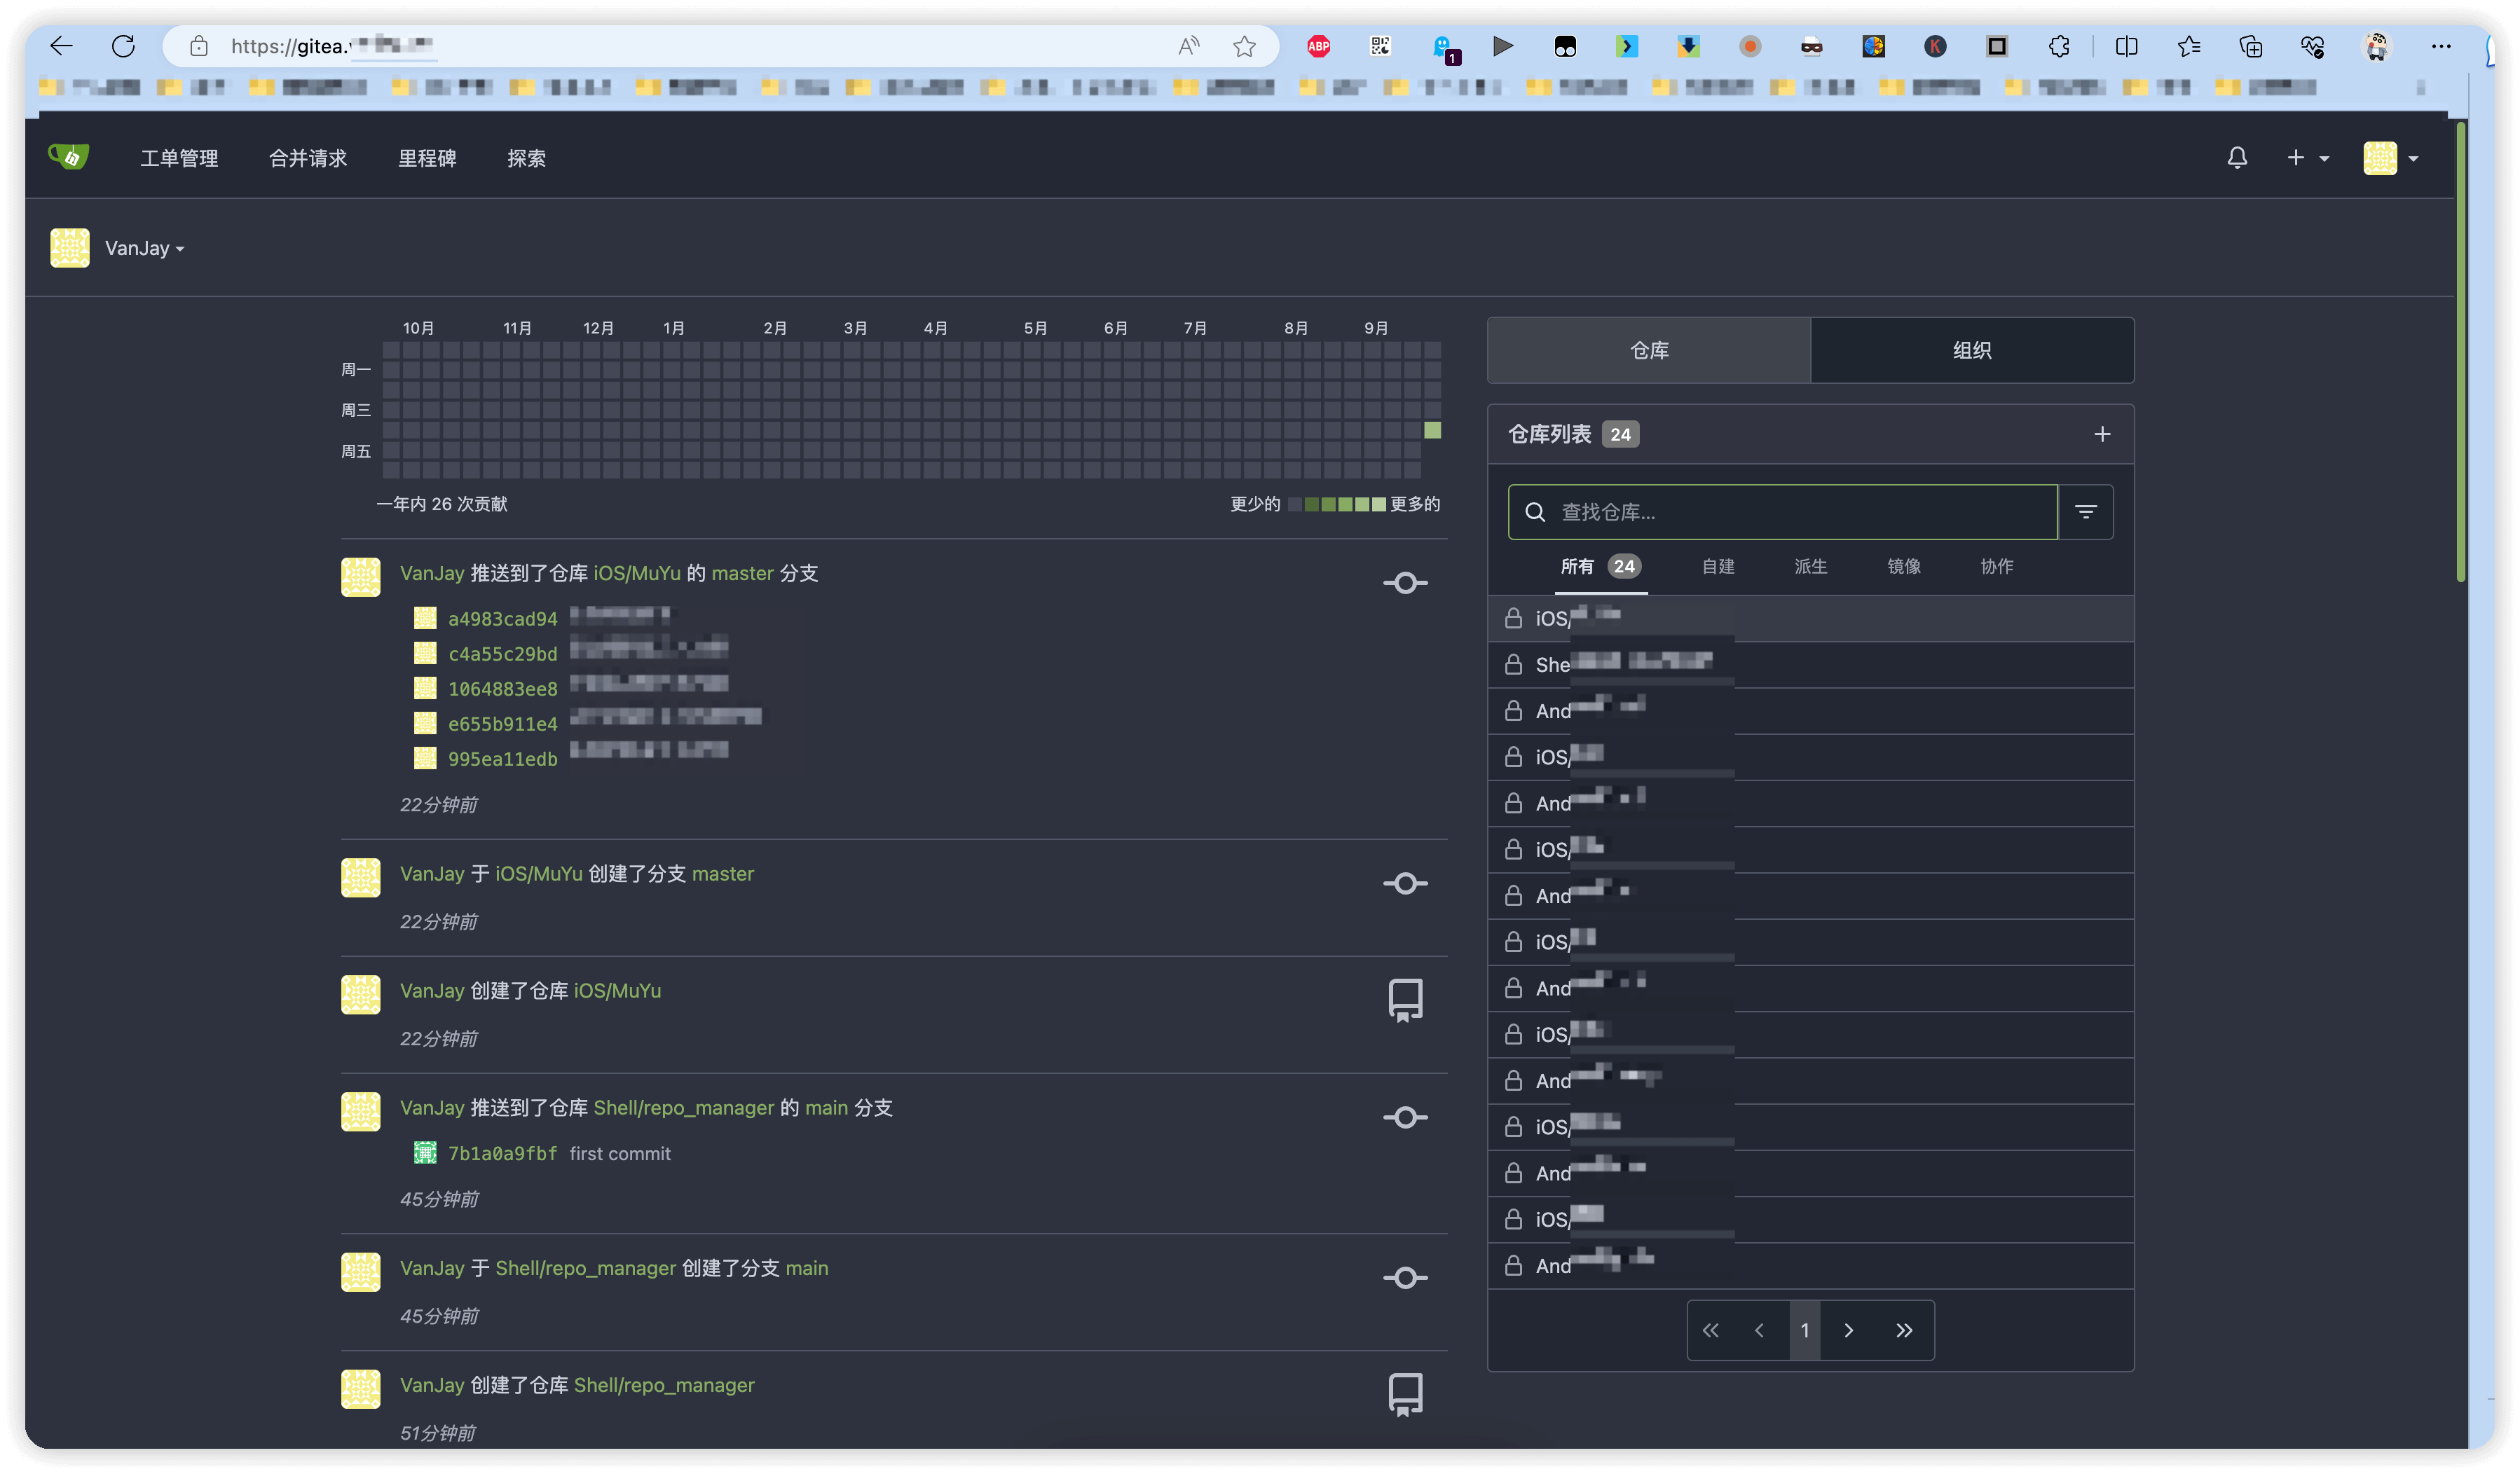
成果

总结
对于个人用户来说,从GitLab迁移到Gitea可能是一个明智的选择,特别是如果你寻找的是一个轻量级、易于管理的解决方案。不过,每个人和团队的需求都是独特的,因此在做出决策之前,最好深入了解每个平台的优缺点。